
Best Free 2026 Upgrade: Enhance Your Photo, Then Convert It to 4K
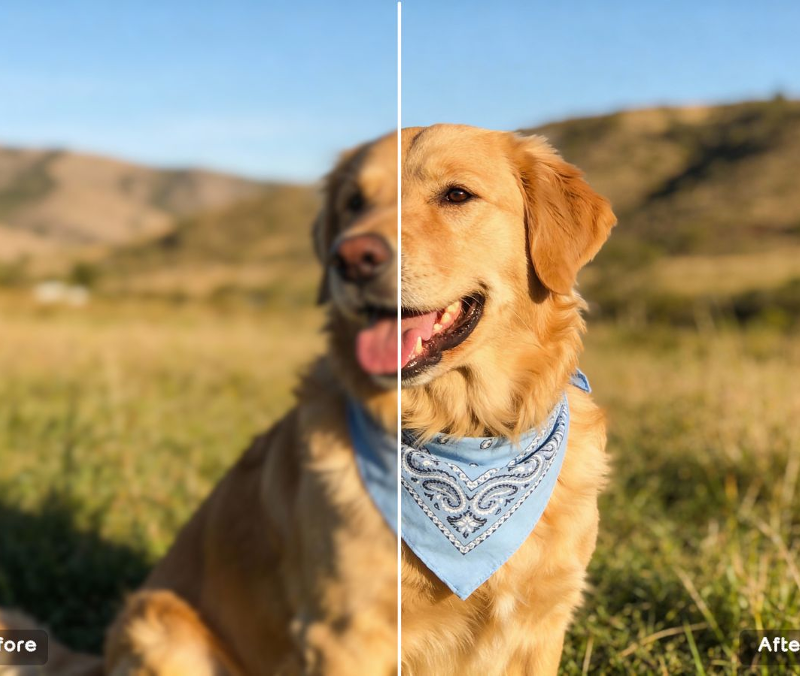
You know that sinking feeling when you want to use a photo, but it just doesn’t look “ready”? The lighting is a bit off, details feel soft, and the whole image has that faint “low-quality” vibe—especially once you upload it to social media or drop it into a product listing. It’s not a disaster photo… it’s worse: it’s an almost photo.
The best fix in 2026 isn’t spending an hour tweaking sliders. It’s a simple two-step workflow: first use enhance image free to clean up clarity, noise, and lighting—then convert image to 4k resolution so your final file holds up everywhere (ads, listings, slides, even light print).
Step 1: Enhance the Image (Natural Detail, Not Harsh “Crisp”)
A good photo enhancer doesn’t try to “change” your photo. It simply makes it look like the version your camera meant to capture: cleaner texture in hair and fabric, reduced grain from low light, and clearer edges—without crunchy halos or plastic skin.
Competitor Comparison: AI Photo Enhancers
| Tool | Strength | Common Limitation | Why this workflow feels better |
| Wowenhance | Instant web-based AI detail recovery & portrait refiner | Requires internet; limited granular control compared to desktop editors | Optimal balance of speed, realistic texture preservation, and zero setup |
| Remini | Fast portrait cleanup | Can look overly smoothed | More natural texture retention |
| Lightroom | Great color/tone control | Not built for real detail recovery | One-click clarity + cleanup |
| Photoshop | Total manual control | Slow + skill-heavy | Quick results without technical steps |
| Mobile “sharpen” apps | Instant | Halos and crunchy edges | Cleaner, more realistic finish |
| Topaz (desktop) | Strong reconstruction | Paid + installation | Browser-based speed and simplicity |
Step 2: Convert to 4K So It Holds Up on Big Screens
Traditional resizing stretches pixels. AI upscaling aims to stabilize edges and rebuild structure, so the image doesn’t fall apart when you zoom, crop, or upload to platforms that compress aggressively.
Competitor Comparison: AI Image Upscalers
| Tool | Strength | Common Limitation | Why this approach stands out |
| Topaz Gigapixel | Excellent detail | Paid + desktop | No install, faster iteration |
| Upscayl | Free/open-source | Hardware-dependent | Smooth workflow on any device |
| Let’s Enhance | Easy cloud upscale | Credits/limits | Simple “upload and go” loop |
| Icons8 Upscaler | Beginner-friendly | Can over-sharpen | More balanced texture + edges |
| Photoshop resize | Precise sizing | Doesn’t recover true detail | AI improves perceived clarity |
3 Real Case Scenarios
- E-commerce product photos
Supplier images arrive soft or compressed. Enhance for clean texture, then convert to 4K so zoom views look trustworthy and premium. - Social posts that get crushed by compression
Your photo looks fine before posting, then gets fuzzy online. This two-step approach helps it stay clean after the platform “chews” it. - Slides, banners, and pitch decks
Low-res screenshots look rough on a projector. Enhancing + 4K conversion makes assets feel boardroom-ready without a redesign.
3 Pro Tips (Small Moves, Big Results)
- Tip 1: Always enhance before you upscale.
Upscaling first can enlarge noise. Cleaning first makes the final file far more natural. - Tip 2: Don’t chase extreme sharpness.
Premium clarity looks realistic. Over-sharpening makes edges “crunchy” and fake. - Tip 3: Prioritize what viewers notice first.
Portraits: eyes and hairline. Products: logo, edges, texture. Screenshots: text readability.
There’s something genuinely satisfying about rescuing a photo that felt unusable—and turning it into something you’re proud to share. Not because you did more work… but because you did the right work in the right order. In 2026, that’s the real win: less time editing, more time shipping, and visuals that finally look as good as your idea.