
Install Home Security Cameras Without Ruining Your Facade. A Designer’s Checklist
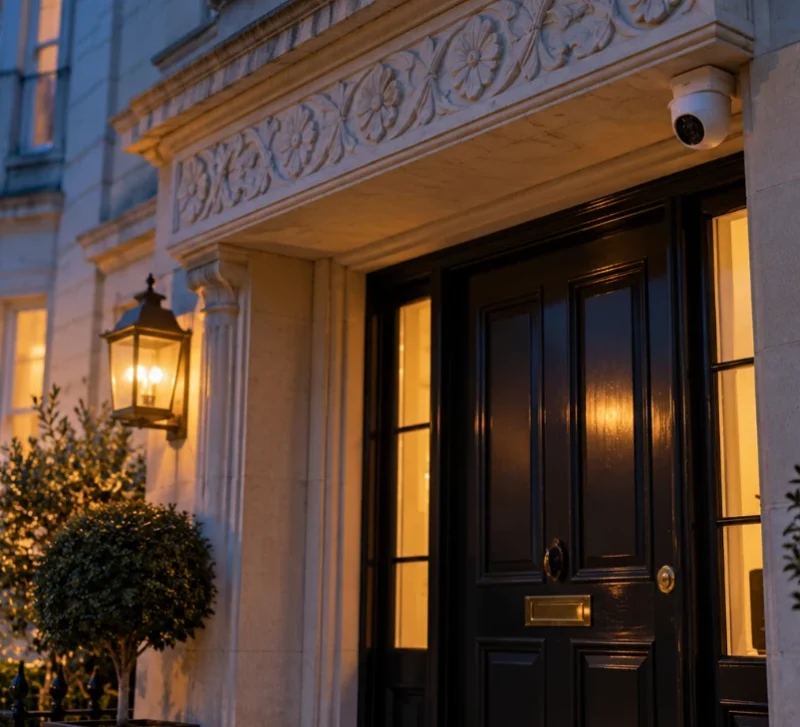
Most homeowners decide to install home security cameras right after something goes wrong, so the work happens in a hurry: a drill, a white plastic housing, a cable stapled down the brick. A year later, the front of the house carries three mismatched cameras, a gray cable loop and a sun-faded sticker from a company nobody remembers hiring.
Designers read a facade the way they read a page. There are margins, alignments, a rhythm of openings, and every new object either respects that structure or breaks it. Cameras, conduit, house numbers and warning signs all add marks to the composition, and three of those four involve type or graphic decisions. Here’s the checklist I’d run before anyone climbs a ladder.
Plan Camera Positions Around the Facade’s Lines
The best reference I’ve found for discreet placement comes from the New York City Landmarks Preservation Commission, which reviews equipment on historic buildings. Its permit guidebook asks for cameras in discreet spots such as beneath a band course, underneath a stoop, or behind an areaway wall. Equipment must attach at mortar joints, plain masonry, wood or metal, and drilling through cast iron or decorative surfaces is off the table. Cameras also need even spacing to avoid a cluttered, haphazard look: no more than two cameras per 25 feet of street frontage on small buildings, three on large ones.
Your house may never see a landmarks review, and those rules still work as a design benchmark. Before anyone drills, walk the facade with a tape measure and a phone and note:
- Horizontal lines: eaves, soffits, band courses, porch ceilings
- Plain surfaces next to each entry door
- Decorative trim and stone you won’t drill
- Existing junction boxes and light fixtures
- Total street frontage in feet
- Where the router and power outlets sit inside
Line the cameras up with something that already exists. A camera tucked under a soffit corner reads as part of the roofline, while the same camera floating in the middle of a brick field reads as an afterthought.
Mounting Height Decides What the Footage Can Identify
Here’s where looks and function conflict. Ring’s own placement guide recommends mounting outdoor cameras 8 to 10 feet above the ground with about a 20-degree downward tilt, and video doorbells at roughly 48 inches. An eave on a two-story house usually sits far higher than that, which keeps hardware out of sight and also turns every visitor into the top of a head.
Image detail is measured in pixels per meter, and the IEC 62676-4 standard sets the thresholds. About 25 pixels per meter lets you detect that a person is present. Observation needs about 62, recognition 125, and identifying someone beyond reasonable doubt takes 250. Anyone who has tested type at small screen sizes knows the logic: below a certain pixel count, fine detail disappears no matter how sharp the original was.
The workable compromise uses two tiers. A doorbell camera or a compact camera near the door handles faces at close range, and a higher camera under the eave covers the yard, driveway or sidewalk at observation level. You get identification where it matters and a cleaner upper facade.
Aim both tiers at your own property and the approach to it. Most IP cameras offer privacy masking, a setting that blacks out chosen areas of the frame, so a neighbor’s windows never end up in your recordings even when the lens catches part of their house.
Choose a Camera Shape That Fits the Architecture
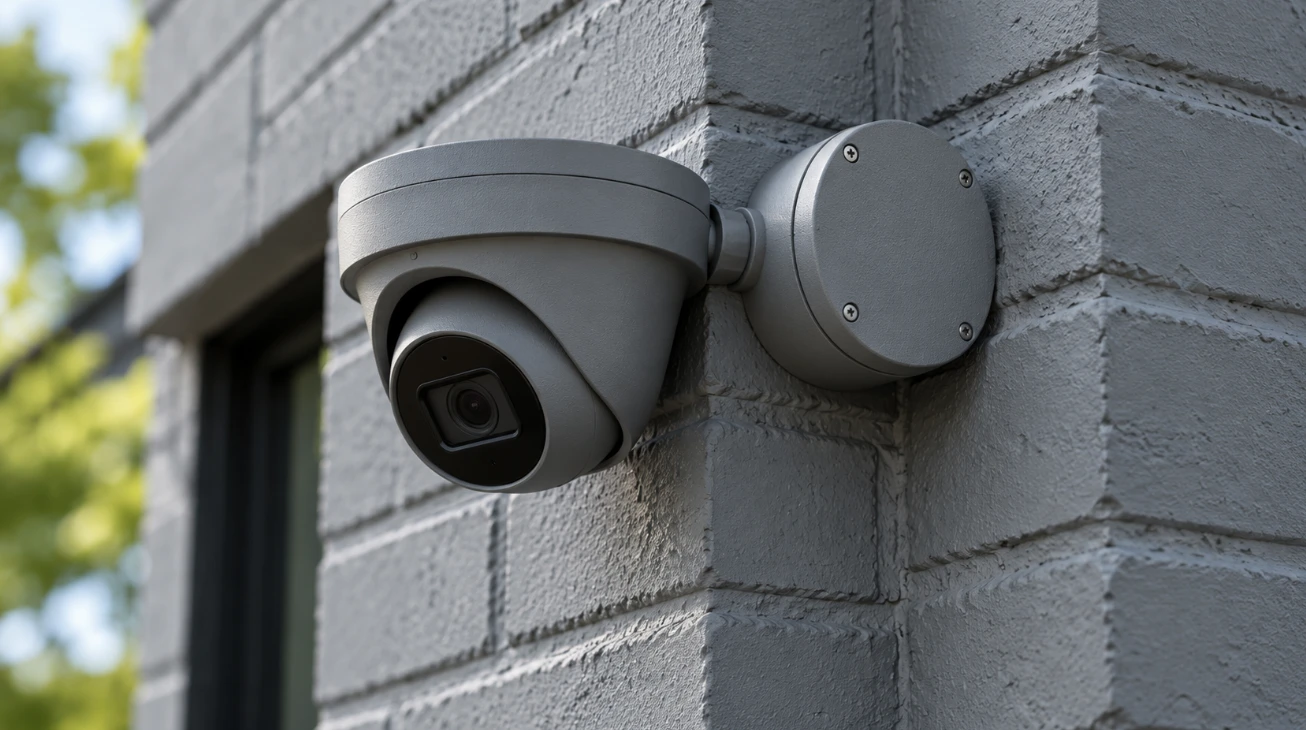
Camera housings come in a handful of shapes, and each one carries a different visual weight. Picking the shape before the brand saves a lot of regret.
| Camera style | Visual footprint | Where it sits best | Watch out for |
|---|---|---|---|
| Mini dome | Lowest profile, hugs a ceiling or soffit | Under eaves, porch ceilings, stoop undersides | Dirt or scratches on the bubble cause infrared flare at night |
| Turret | Compact ball in a socket, no bubble | Wall corners, under a band course, porch columns | Wide base plate; usually needs a junction box to hide the cable entry |
| Bullet | Long and obvious, reads as security from the street | Side yards, driveways, rear lanes | Hardest shape to hide on a primary facade |
| Video doorbell | Replaces the existing button | Door frame at about 48 inches | Wider than some narrow trim profiles, may need a mounting plate |
| Floodlight camera | Large combined light and camera | Garage, back door, side gate | Reads as a utility fixture, so keep it off the front elevation |
Honestly, I’d default to a turret on most facades. It sits tight to a wall, it avoids the bubble glare of domes, and its round body matches the round light fixtures many entries already have. Most housings ship in white, and dark gray or black versions of many models suit darker trim and window frames without any paint at all.
Hide the Cable, Then Color-Match What’s Left
Wired cameras look cleaner than battery models over time because nobody has to unclip them for charging. Most modern wired cameras run on Power over Ethernet, where a single network cable carries both data and power for up to 100 meters (328 feet). That single cable can usually pass straight through the wall behind the camera into a junction box, leaving nothing on the surface.
When a surface run can’t be avoided, the landmarks guidebook again offers a useful limit. It allows about ten inches of visible conduit, painted to match the background and secured into mortar joints. Equipment should be as small as possible and painted to blend with the surrounding material. Paint the housing, the junction box and the conduit, and keep paint well clear of the lens window and any sensor openings.
Concealed runs cost more labor. Camera installation commonly runs $100 to $200 per camera in labor, and fishing cable through finished walls or old plaster pushes a job toward the top of that range.
House Numbers Belong to the Camera System
Now for the typography part, which matters more than people expect. Footage that shows your door also shows your address, and couriers, guests and emergency crews all depend on reading it from the street.
The International Fire Code, adopted in many U.S. jurisdictions, sets the baseline in Section 505.1. Address numbers must be Arabic numerals or letters at least 4 inches high with a stroke width of at least half an inch, and they must contrast with their background. Some local versions go further. The city of Shakopee, Minnesota, for example, bans script and italic typefaces for address numbers outright.
For typographers, the useful questions are about open apertures and distinct figures. A 3 that closes up into an 8 at 60 feet, or a 1 that looks like a 7, fails the job regardless of how elegant it looks up close. If you want a designed option, House Industries sells house numbers based on Neutraface, the typeface Christian Schwartz drew from Richard Neutra’s architectural lettering. Pick a matte finish, since shiny numerals such as polished brass can flare under a camera’s infrared illuminators and lose their edges in night footage. Light the numbers as well. A small downlight above them, or numerals mounted off the wall with a soft backlight, keeps the address readable on camera after sunset.
Design the Warning Sign Too
A yard sign or window decal announcing video surveillance is the one piece of camera hardware made entirely of type. Most homeowners stick on whatever arrived in the box, usually a logo-heavy sticker with tiny text.
A common sign-industry rule of thumb allows about 10 feet of reading distance per inch of letter height. A sign meant to be read from a 30-foot front walk therefore needs letters around 3 inches tall, which the average stock decal doesn’t come close to. A short line set in a sturdy sans serif with high contrast does more work than a paragraph of small print. Place the sign where a visitor’s eye lands naturally, near the path or beside the door, and keep its color aligned with your house numbers so the two read as one system.
Mock It Up Before the Final Screw
Landmark applications require elevation drawings, manufacturer cut sheets, and paint specifications before a single camera goes up. A private homeowner can run the same check for the price of some cardboard. Cut shapes at the real camera sizes, tape them where the installer plans to mount, and photograph the house from across the street at eye level.
Then ask for a night test before the housings get sealed and painted. Infrared illuminators bounce off nearby walls, gutters and glossy trim, and a camera placed two inches too close to a downspout can wash out half its own image after dark. Moving a camera at that stage costs one extra hole, while moving it after the paint and patchwork means a facade repair.