
How to Turn Photos Into Tattoo Stencils and Line Art for Creative Projects
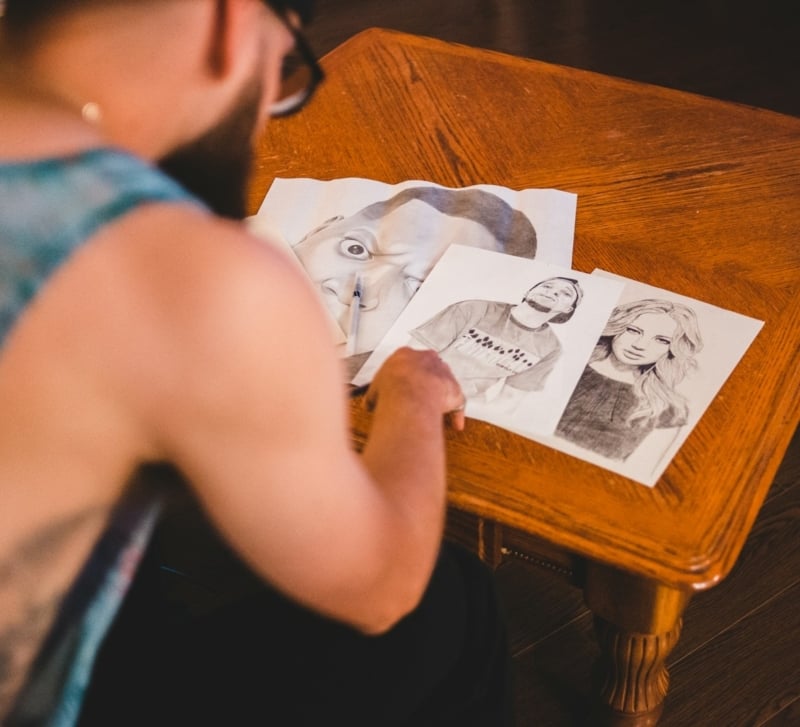
A photograph can be much more than a finished image.
It can become the starting point for a tattoo, a stencil, an illustration, a coloring project, an embroidery pattern, or a piece of handmade wall art.
The challenge is that photographs contain far more visual information than most of these projects need. They include shadows, textures, colors, background objects, reflections, and small details.
A stencil or line drawing works differently.
It depends on clear shapes.
This is why converting a photo into simplified line art is often the first step before using it in another creative medium.
Why Tattoo Stencils Matter
Tattoo artists do not usually work directly from ordinary photographs.
A photograph is useful as reference, but the artist needs a clear guide that can be transferred onto the skin.
That guide is the stencil.
A stencil shows the main structure of the design. It provides boundaries, placement, scale, and visual direction before the tattooing begins.
People who want to experiment before meeting an artist can use a free tattoo stencil maker to see how a photograph might look after unnecessary details are removed.
This can be useful for portraits, pets, flowers, symbols, lettering, and many other subjects.
The preview helps users understand whether the original image has a strong enough shape to become a tattoo.
Step 1: Choose the Right Photograph
The source image has a major influence on the final result.
A clear photograph with a strong subject is much easier to simplify than a crowded scene.
Look for images with:
- sharp focus
- clear lighting
- strong subject separation
- recognizable shapes
- limited background clutter
Portraits often work well when the face is clearly visible.
Pet photographs work best when the animal is not hidden by furniture or background objects.
Flowers and objects are easier to convert when photographed against a simple background.
Step 2: Crop Before You Convert
Do not ask the conversion tool to solve composition problems that you can fix first.
If the important part of the photograph occupies only a small area, crop the image.
Suppose you have a full-body photograph but only want a tattoo of the face.
Remove the rest of the image before converting it.
This gives the software less visual information to process and often produces cleaner lines.
Cropping also helps you think about the final design size.
A close-up portrait works differently from a full-body outline.
Step 3: Remove Background Distractions
Backgrounds can create unwanted lines.
A photograph of a dog sitting on a patterned rug may produce dozens of unnecessary marks.
A portrait taken in front of shelves or furniture can create the same problem.
If the background is complex, remove it first or choose another photograph.
The goal is to make the main subject visually obvious.
This is especially important for tattoo stencils because every unnecessary mark can make the design harder to read.
Step 4: Convert the Image Into Line Art
Once the image is prepared, convert it into a simplified outline.
If your goal is broader than tattooing, you can turn photo into line drawing online free and use the result for drawing, printing, coloring, crafts, or digital editing.
The tool detects important edges and transforms the photograph into a more graphic image.
This is useful because line art provides a neutral base.
You can later make the lines thicker, remove sections, add color, combine the drawing with typography, or import it into another design program.
Step 5: Decide How Much Detail You Need
Detail should match the final project.
A tattoo stencil may need fewer internal lines so the design remains easy to transfer and read.
A coloring page may need more enclosed spaces.
An embroidery pattern may need simplified contours.
A digital illustration can support much finer detail.
This means there is no single “best” version.
The right version depends on what you plan to make.
Tattoo Stencil vs Line Drawing
The two formats are similar but not identical.
| Feature | Tattoo Stencil | Line Drawing |
|---|---|---|
| Main purpose | Tattoo transfer and planning | General creative use |
| Line style | Clear and functional | Flexible and artistic |
| Detail level | Usually simplified | Can be high or low |
| Background | Usually removed | Optional |
| Final use | Skin transfer | Print, craft, design, art |
A stencil is practical.
A line drawing is more flexible.
That distinction matters when choosing settings and deciding what to remove.
Step 6: Adjust Line Thickness
Line weight changes the appearance of the image.
Thin lines preserve delicate details but can become difficult to see when printed small.
Thick lines are easier to follow but may remove subtle features.
For tattoo stencils, clear contours are usually more important than decorative texture.
For illustration, you may want more variation.
If the tool offers multiple line styles, compare them before downloading.
Sometimes the simplest option creates the strongest design.
Step 7: Clean Up Unwanted Marks
Automatic conversion is rarely perfect.
You may see small dots, broken lines, or unnecessary marks.
Do not be afraid to clean them up.
A basic image editor is often enough.
Remove lines that do not contribute to the subject.
Close gaps where necessary.
Simplify confusing areas.
A cleaner drawing will be easier to use later.
Good Subjects for Tattoo Stencils
Some photographs naturally translate well into tattoo concepts.
Pets
Pets have distinctive silhouettes and facial features.
A strong portrait can become a minimalist outline or a more detailed tattoo reference.
Flowers
Flowers are popular because their shapes remain recognizable even after heavy simplification.
Petals and leaves also offer flexible options for composition.
Portraits
Portrait tattoos require care because small changes can affect likeness.
Clear frontal or three-quarter views usually provide useful reference material.
Travel Landmarks
Buildings, mountains, skylines, and monuments can become strong geometric or fine-line tattoos.
Personal Objects
A watch, instrument, vehicle, book, or family heirloom can carry emotional meaning and translate well into line art.
Good Subjects for General Line Drawings
Line drawings can handle a wider range of material.
Architecture works well because buildings already contain strong edges.
Plants and botanical photographs create elegant printable art.
Food photography can become kitchen wall decor.
Children’s toys can become custom coloring pages.
Travel photographs can become journal illustrations.
Because the final use is not restricted to skin, more detail can be preserved.
Using Line Art for Coloring Projects
Once a photograph becomes a line drawing, it can easily become a coloring activity.
This works particularly well with:
- pets
- family portraits
- holiday photographs
- flowers
- vehicles
- houses
- landmarks
For children, choose images with larger spaces between the lines.
For adults, more detail can create a longer and more complex coloring experience.
Personalized coloring pages are also useful for gifts.
A parent might create a small booklet from family photographs.
A couple might use wedding images.
A teacher could turn classroom photographs into an activity.
Using Line Art for Crafts
Line drawings are highly adaptable because they can act as templates.
You can use them for:
Embroidery
Transfer the outline to fabric and stitch along the main contours.
Wood Burning
Simple line art provides an easy guide for burning designs into wood.
Paper Cutting
Bold shapes can become cutting templates.
Painting
Project the drawing onto a canvas or wall and trace it before painting.
Engraving
Clean outlines work well as reference material for engraving tools.
The same converted image can support several different projects.
Common Mistakes to Avoid
Using a Blurry Photo
Blur creates uncertain edges.
The converter may produce double lines or broken contours.
Keeping Too Much Background
More background means more unwanted marks.
Remove anything that does not contribute to the main subject.
Choosing Too Much Detail
A complicated image may look impressive as a photograph but confusing as line art.
Simplify before adding more detail.
Ignoring Final Size
A design intended for a small tattoo should not contain the same level of detail as a poster-sized illustration.
Always think about scale.
Printing Without Checking Resolution
Low-resolution files can produce jagged edges.
Download the highest-quality version available.
How to Prepare a Stencil for a Tattoo Artist
If the drawing will eventually become a tattoo, treat the generated stencil as a starting reference.
Print several sizes if necessary.
Compare the design against the area of the body where you plan to place it.
Check whether the lines still look clear when reduced.
Then bring the reference to a professional tattoo artist.
The artist may redraw parts of the design to improve flow, durability, and placement.
That is normal.
A tattoo must work with the body, not just with the original photograph.
Why Digital Preparation Saves Time
Manual tracing is useful, but it can take time.
Automatic conversion makes early experimentation much faster.
You can compare several photographs.
You can test different crops.
You can try both detailed and minimal versions.
You can reject weak ideas before spending time refining them.
This makes the creative process more efficient without removing the human decisions that matter most.
Final Thoughts
Turning photographs into tattoo stencils and line art is ultimately about simplification.
A photograph contains thousands of visual details.
A strong stencil or drawing keeps only the information that matters.
The best results usually come from clear source images, simple backgrounds, careful cropping, and thoughtful control over detail.
Once the line structure is clean, the image can move into almost any creative medium.
It can become a tattoo reference, a coloring page, an embroidery pattern, a wall design, or a handmade gift.
That flexibility is what makes photo-to-line conversion so useful.
You begin with a memory captured by a camera.
What you create from it is entirely up to you.